

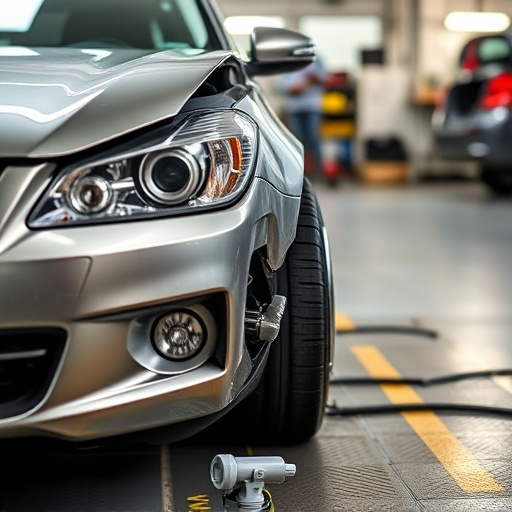


Undercarriage inspection techniques are vital for efficient flood damaged vehicle repair, especially in high-precision models like Mercedes Benz. Skilled technicians use specialized tools to detect water intrusion, corrosion, and structural damage in hard-to-reach areas. A comprehensive toolkit includes torches, moisture meters, and thermal imaging cameras. The structured approach involves assessing, removing, cleaning, repairing or replacing damaged parts, and reassembling for optimal safety and performance.
After a flood, meticulous inspection of a vehicle’s undercarriage is crucial for effective repair. This comprehensive guide delves into the essential tools and techniques needed to assess flood damage, ensuring thoroughness in the repair process. Learn about advanced methods to uncover hidden issues beneath the surface, enabling efficient restoration of your flood-damaged vehicle. Discover the key tools, follow a structured guide, and master undercarriage inspection for optimal repair outcomes.
- Understanding Undercarriage Inspection Techniques
- Essential Tools for Flood Damage Assessment
- Step-by-Step Guide to Efficient Repair Process
Understanding Undercarriage Inspection Techniques
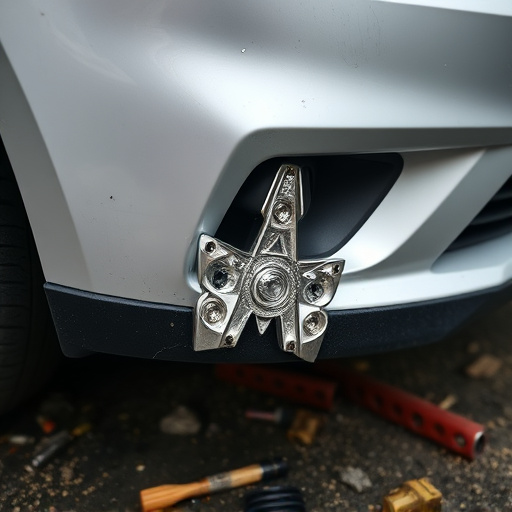
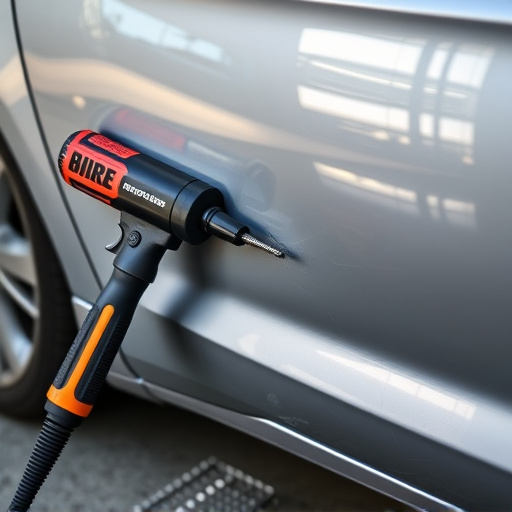
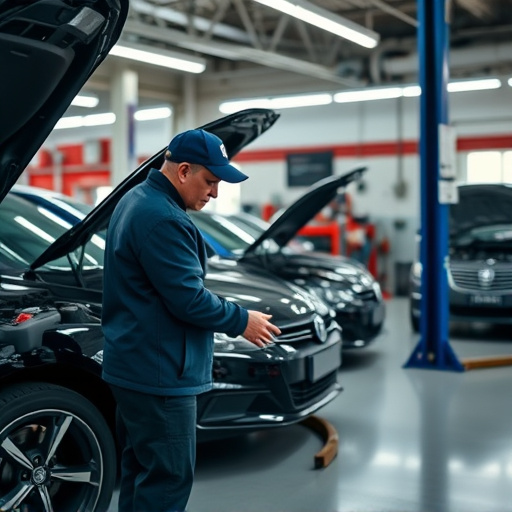
Understanding Undercarriage Inspection Techniques is a crucial step in effective flood damaged vehicle repair. It involves meticulous examination of the car’s undersurface to identify any signs of water intrusion, corrosion, or structural damage. Skilled technicians use specialized tools such as torches, pressure washers, and magnifying glasses to peer into hard-to-reach areas, ensuring no hidden issues go unnoticed. In the case of a Mercedes Benz collision repair, for instance, where precision is paramount, these techniques are vital in determining the extent of restoration required.
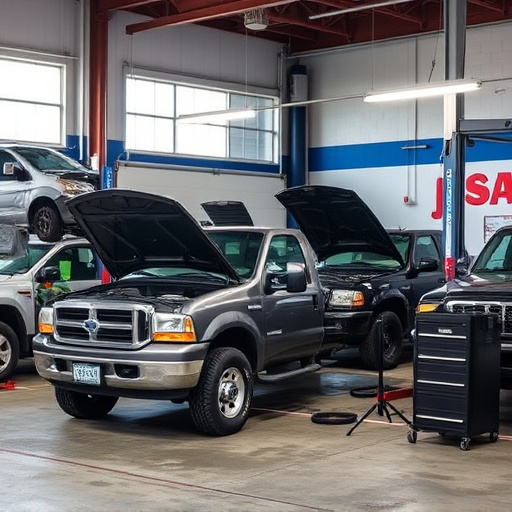
For fleet repair services, efficient undercarriage inspection can streamline the entire process, minimizing downtime and costs. By employing these methods, technicians can accurately assess damage to components like suspension systems, exhaust pipes, and brakes—critical elements that directly impact safety and performance. This meticulous approach is especially valuable in addressing flood-related challenges unique to regions prone to seasonal flooding, ensuring vehicles are restored to their pre-incident condition or better.
Essential Tools for Flood Damage Assessment
When assessing flood damaged vehicles, a well-equipped toolkit is indispensable for car repair services. The right tools can significantly expedite the inspection process and help identify potential issues accurately. One of the essential tools for flood damage assessment is a thorough visual examination using high-intensity torches or flashlights. These enable technicians to inspect hard-to-reach areas under the vehicle, looking for water lines, rust, and any signs of structural compromise, which are crucial aspects of car dent removal and overall car damage repair.
Additionally, moisture meters and thermal imaging cameras are valuable assets in flood damaged vehicle repair. Moisture meters help detect hidden water intrusion, indicating where water may have seeped through the undercarriage and potentially causing further damage. Thermal imaging cameras, on the other hand, can identify areas of excessive heat, which may reveal water-related issues or point to components that require specialized car dent removal techniques for efficient car damage repair.
Step-by-Step Guide to Efficient Repair Process
Inspecting and repairing a flood-damaged vehicle requires a systematic approach to ensure thoroughness and efficiency. Here’s a step-by-step guide for a seamless repair process:
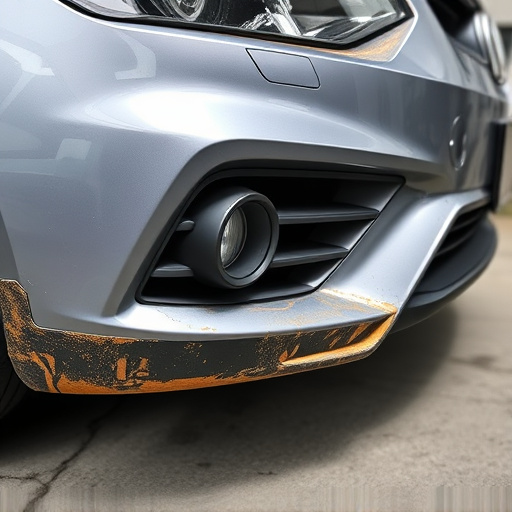
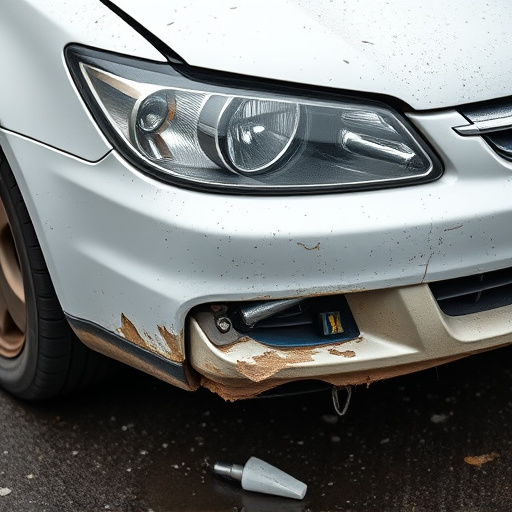
1. Assess the Damage: Begin by thoroughly examining the undercarriage and identifying all areas affected by the flood. Look for signs of rust, corrosion, or damage to components like the exhaust system, suspension parts, and wheels. This initial assessment will help in prioritizing repairs and understanding the scope of work.
2. Remove Corroded Parts: The next step involves removing any severely corroded or damaged parts. This might include the bumper, fenders, or other panels that have been compromised by the floodwater. Be sure to document these components for potential recycling or replacement, as they are essential for the vehicle’s structural integrity and overall aesthetics.
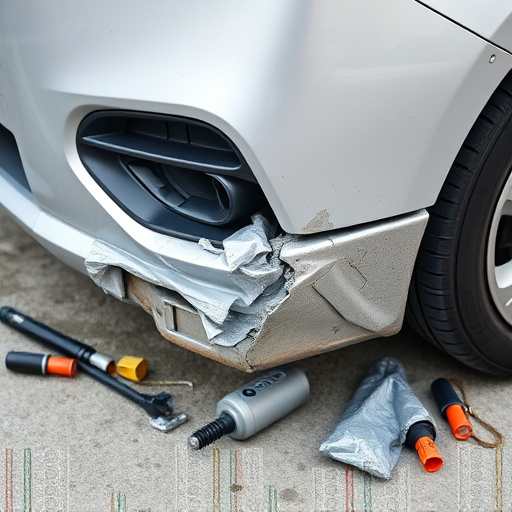
3. Clean and Dry: After removal, clean the affected area and ensure all debris is eliminated. Use specialized tools to remove rust and corrosion, and then apply a protective coating to prevent further damage. Drying is crucial; use fans or heat sources (if safe) to expedite the process, as moisture can lead to more corrosion.
4. Replace or Repair: Depending on the severity of the damage, decide whether to replace or repair affected parts. For example, if a fender is dented but not severely corroded, it might be cost-effective to repair rather than replace. Bumper repair and other auto repair services near you should be considered for more complex issues.
5. Reassemble: Once all components are prepared and any necessary repairs or replacements are made, carefully reassemble the undercarriage and ensure proper alignment. This step demands precision to maintain the vehicle’s safety and performance standards.
When repairing flood-damaged vehicles, a thorough inspection of the undercarriage is crucial. By utilizing the right tools and techniques outlined in this article—from understanding inspection methods to employing essential assessment tools and following a structured repair process—professional mechanics can efficiently navigate the complex landscape of flood damage, ensuring top-quality repairs and restoring these vehicles to their pre-flood condition. This approach not only facilitates a faster return to service for vehicle owners but also underscores the importance of meticulous undercarriage inspection in the broader context of flood damaged vehicle repair.